
Table of Contents
Modern homes require smart security cameras for protection because home security has become essential in our present world thanks to technological progress. The Blink Mini 2 represents one of the main smart security camera choices available in the market since Blink launched it in March 2024. The updated features of the Blink Mini 2 enable users to install this camera inside or outside their house because it now features better night vision together with improved field of view as well as person detection technology based on computer vision.
This guide will provide you with all the information needed to set up a Blink Mini 2 camera both for new users and for those interested in buying one. The following guide shows you all the best practices for maximizing the potential of this security camera update.
Key Features of the Blink Mini 2
Before diving into the setup process, let’s quickly review the standout features of the Blink Mini 2 that make it a great choice for securing your home:
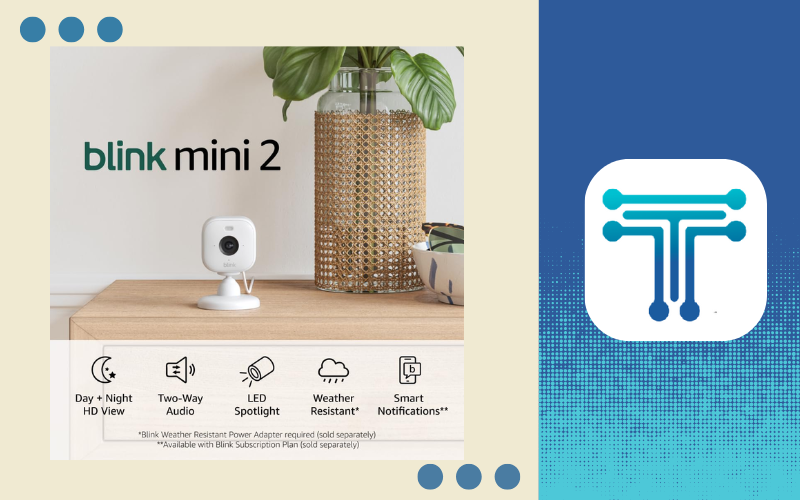
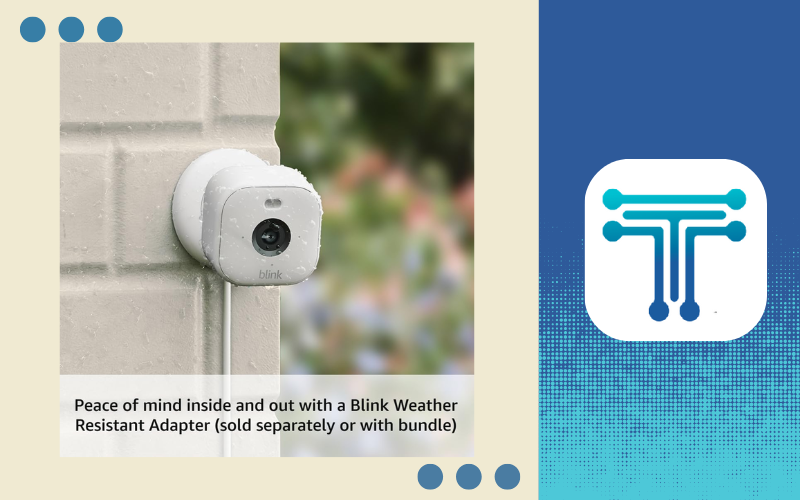
- Indoor & Outdoor Compatibility: The Blink Mini 2 is designed for both indoor and outdoor use. Unlike previous versions that were mainly for indoor use, this camera’s housing is weather-resistant, making it ideal for monitoring both your home’s interior and exterior.
- Enhanced Night Vision: The camera now features a larger LED spotlight that improves visibility during low-light conditions, providing a better picture quality both during the day and at night.
- Wider Field of View: The updated Blink Mini 2 offers a wider viewing angle than its predecessors, helping you cover more area with fewer cameras.
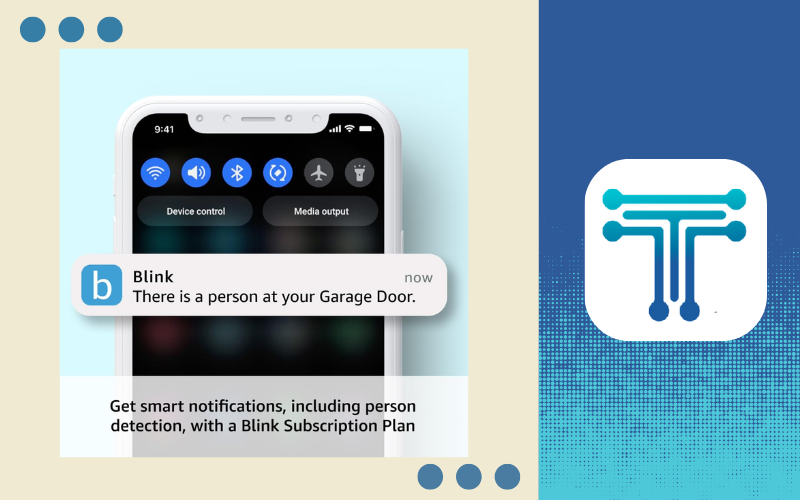
- Person Detection: Leveraging computer vision, the Blink Mini 2 can differentiate between a person and other moving objects (e.g., leaves or cars), helping reduce false alerts.
- Two-Way Audio: This feature allows you to listen and communicate through the camera, making it easy to interact with anyone near the camera.
- Motion Detection: The camera includes motion detection that will send you alerts when any movement is detected, adding an extra layer of security.
Step-by-Step Setup Guide for the Blink Mini 2
Setting up the Blink Mini 2 is simple and user-friendly. Follow this step-by-step guide to get your camera up and running in no time.
Step 1: Download the Blink App
The first thing you need to do is download the Blink app on your smartphone. The Blink app is available for both iOS and Android devices.

- On iOS: Open the App Store, search for “Blink Home Monitor”, and install the app.
- On Android: Open the Google Play Store, search for “Blink Home Monitor”, and install the app.
Once installed, open the app, create a username and password, and log in.
Step 2: Power Up the Blink Mini 2 Camera
The Blink Mini 2 requires a power adapter to function, unlike previous Blink cameras that were battery-powered. Here’s how to set it up:
- Connect the Power Adapter: Plug the included power adapter into the Blink Mini 2 camera and the other end into a power outlet.
- Power On the Camera: The camera will power up, and you should see a blinking blue light, indicating that the device is in pairing mode and ready to connect.
Step 3: Add the Blink Mini 2 to Your Blink Account
With the Blink Mini 2 powered on, you can now connect it to your Blink account through the Blink app.
- Open the Blink App: Launch the Blink app on your smartphone.
- Tap the Plus Icon: Tap the “+” icon at the top of the screen to add a new device.
- Select Blink Mini: Choose “Blink Mini” from the list of available devices.
- Scan QR Code: On the back of your Blink Mini 2, there is a QR code. Scan it with your smartphone. If the QR code is not accessible, you can also manually enter the serial number found on the packaging or in the manual.
Once you’ve scanned the QR code, your device will appear in the Blink app, and the setup process will begin.
Step 4: Connect to Wi-Fi
Next, you’ll need to connect your Blink Mini 2 to your home Wi-Fi network.
- Select Wi-Fi Network: Choose your Wi-Fi network from the list shown on your app.
- Enter Wi-Fi Password: Enter your Wi-Fi password when prompted and tap “Join”.
- Firmware Update: The Blink Mini 2 will automatically update its firmware after connecting to Wi-Fi, so it’s important to wait until this process is complete.
Step 5: Name Your Camera and Finalize Setup
Once your Blink Mini 2 is connected to your Wi-Fi network, you’ll be prompted to name the camera. You can name it whatever you like (e.g., “Front Door” or “Backyard”).
- Select “Create a New System”: You can create a new system for this camera or add it to an existing system if you already have other Blink cameras.
- Confirm Setup: Once you’ve named your camera and chosen the system, tap “Continue” to finalize the setup.
You will now be taken to the home screen of the Blink app, where you can access the live feed from your camera and adjust the settings.
Blink Mini 2 Settings and Customization
Now that your Blink Mini 2 is set up, it’s time to explore the settings and features to make the most of your new security camera. Here’s a look at the settings you’ll want to configure:
Motion Detection and Alerts
The Blink Mini 2 comes with customizable motion detection settings to ensure you’re only alerted when something important happens.
- Enable Motion Detection: In the app, you can toggle motion detection on or off. You’ll receive alerts whenever motion is detected in the camera’s field of view.
- Person Detection: You can enable Person Detection to reduce false alerts. This feature uses computer vision to detect people and only sends you alerts when a person is detected, not when a car passes or leaves blow in the wind.
- Motion Sensitivity: You can adjust the sensitivity of the motion detection from 1 to 9, depending on how sensitive you want the camera to be.
- Activity Zones: Set Activity Zones to focus the camera’s attention on specific areas of its field of view. This feature helps you monitor high-priority areas without getting alerts for areas you don’t care about.
- Privacy Zones: Create Privacy Zones where the camera will not detect motion or record video. This is particularly useful if there are areas in the camera’s view that you don’t want to be monitored, such as a neighbor’s yard.
Video and Photo Settings

- Motion Clip Length: You can adjust the length of the video clip triggered by motion, ranging from 10 to 30 seconds.
- Video Quality: If you have a stable internet connection, set the video quality to the highest setting for the best possible image clarity.
- Night Vision: The Blink Mini 2 offers Night Vision, which automatically turns on when there’s low light. You can set it to Auto, where it will activate as needed, or you can turn it on or off manually.
- IR Intensity: Adjust the Infrared (IR) intensity if you experience issues with reflections or glare in low-light conditions.
Two-Way Audio
One of the standout features of the Blink Mini 2 is its Two-Way Audio, which allows you to listen and speak through the camera.
- Unmute the Microphone: Tap the unmute icon to begin speaking through the camera.
- Speaker Volume: You can adjust the volume of the speaker to make sure your voice is clear during communication.
LED Spotlight
The Blink Mini 2 features a bright LED spotlight, which is particularly useful for outdoor settings. You can adjust the spotlight settings as follows:
- Turn On/Off Spotlight: Tap the spotlight icon in the app to turn the LED light on or off.
- Motion-Activated Spotlight: Set the LED spotlight to turn on automatically when motion is detected. This not only illuminates the area but also acts as a deterrent for intruders.
- Light Brightness: Adjust the brightness of the LED spotlight to suit your environment. This feature is especially useful in low-light or dark outdoor areas.
Advanced Settings and Privacy
The Blink Mini 2 offers several advanced settings to further customize the camera and protect your privacy.
- Audio and Video Privacy: You can disable audio streaming or video recording if you don’t want the camera to record or stream audio or video.
- Disable Alerts: If you’re going away on vacation or just want to temporarily disable notifications, you can snooze alerts for a set period.
- Camera Name and Settings: You can change the camera’s name anytime and access the device’s settings to adjust its behavior.
Conclusion
Users can find the Blink Mini 2 an upgraded addition to Blink’s smart camera collection because it delivers superior benefits that accommodate both interior and exterior installation needs. The Blink Mini 2 serves as an effective home security tool because it incorporates features that include person detection along with motion zones functionality in addition to two-way audio capabilities and adjustable LED spotlight options.
Using this guide will allow you to configure your Blink Mini 2 properly so you can maximize the functionality of your security system. The Blink Mini 2 offers efficient monitoring capabilities for your front door and backyard together with interior surveillance at an affordable cost level.
Make sure to explore all the settings and features to ensure your Blink Mini 2 is optimized for your specific needs.